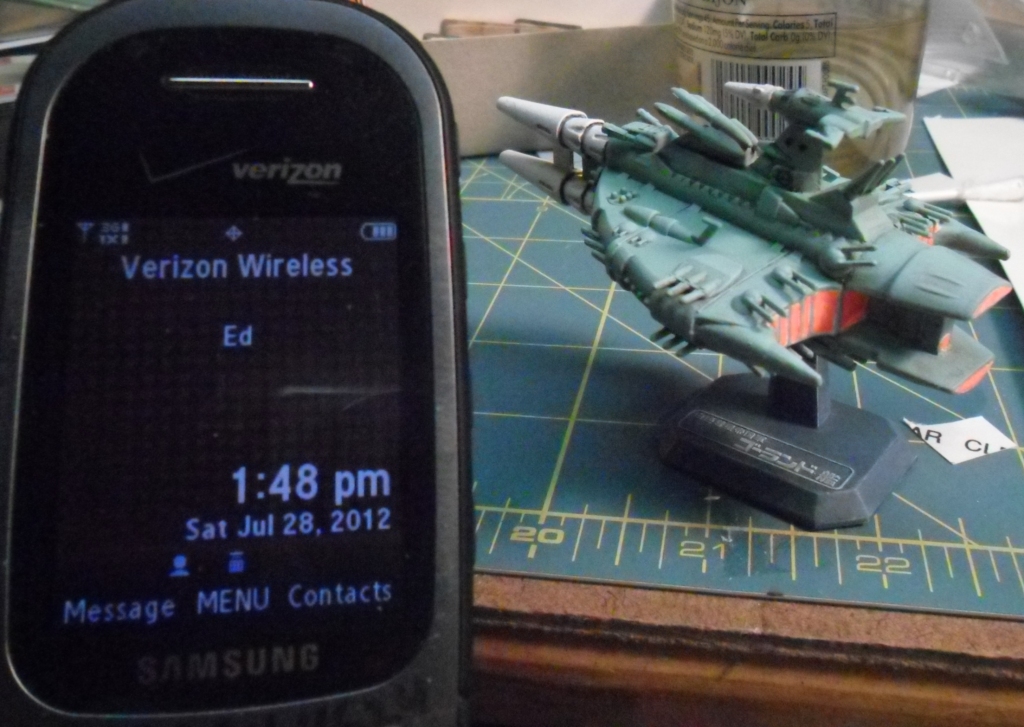
Okay, here it is with three minutes to spare as you can see by the time on my cellphone in this first photo. I'll add the usual blather about what I did after announcing it on SSM forum.
Reality is a concept firmly rooted in the imagination. This blog is a pretty much imaginary place for me to showcase my attempts to represent in reality some of the things that have come to live in my imagination.
Showing posts with label Alps printer. Show all posts
Saturday, July 28, 2012
One Day Build: Star Blazers Mini No. 10
Last time I tried to do the one-day build (here's a link to the contest at SSM forum), I made like the hare in Aesop's fable and goofed off when I should have been modeling. Also, I don't know whether the hare had a wife and a daughter who wanted him to come to the pool with them.
Anyway, it was a bust from the one-day standpoint, but the model came out looking okay. Eventually.
Here's the victim for my current attempt: Bandai Star Blazers Mini No. 10, a Comet Empire missile ship. This sucker is just bristling with weaponry. I guess the Comet Empire is into massive overkill.
This time I've got it planned better and I only need to be done by 1:49 PM Eastern Daylight Time, Saturday, July 28, 2011, or in about 13 hours. And I've already got it completely assembled, primered with Tamiya grey sanding primer, puttied, sanded, puttied, sanded, etc.There was some flash, which surprised me--I don't recall ever seeing any flash on a Bandai kit, even ones this old.
I'm keeping modifications to a bare minimum. I hollowed out a couple of what appear to be gun barrels (2 parts no. 12), using a carbide bit in my Dremel tool, and scraped the guns on the 12 parts no. 6 (double-mount gun turrets) with an x-acto knife to give the gun barrels a more cylindrical shape, where they had been flat-bottomed. Using AutoCAD, I designed decals for those compound eye scanner things on the front of the ship and printed them out on my Alps printer, and they came out looking good on the first try. Yay!
Tomorrow, I'll paint this ship, add the decals, weather it a bit, and write another post.
Anyway, it was a bust from the one-day standpoint, but the model came out looking okay. Eventually.
This time I've got it planned better and I only need to be done by 1:49 PM Eastern Daylight Time, Saturday, July 28, 2011, or in about 13 hours. And I've already got it completely assembled, primered with Tamiya grey sanding primer, puttied, sanded, puttied, sanded, etc.There was some flash, which surprised me--I don't recall ever seeing any flash on a Bandai kit, even ones this old.
I'm keeping modifications to a bare minimum. I hollowed out a couple of what appear to be gun barrels (2 parts no. 12), using a carbide bit in my Dremel tool, and scraped the guns on the 12 parts no. 6 (double-mount gun turrets) with an x-acto knife to give the gun barrels a more cylindrical shape, where they had been flat-bottomed. Using AutoCAD, I designed decals for those compound eye scanner things on the front of the ship and printed them out on my Alps printer, and they came out looking good on the first try. Yay!
Tomorrow, I'll paint this ship, add the decals, weather it a bit, and write another post.
Labels:
Alps printer,
anime,
AutoCAD,
Bandai,
Star Blazers,
WIP
Sunday, July 8, 2012
One Day Build: Star Blazers Mini No. 8--Finished in Eight Days
This isn't how Scotty would recommend getting a reputation as a miracle worker. Originally to be done in 24 hours (see previous post), this kit is finally done a week past the deadline. It's probably nicer than it would have been. I worked on it almost every day for an hour or two, and had time to think about what I wanted to do. Once the deadline was blown, I decided to replace the flight deck sticker with a homemade decal. As it turns out, this didn't take long at all. I scanned the sticker and imported the raster image into AutoCAD and traced a vector image over it, which I printed out on my Alps printer on decal paper. Here's a picture of the decal (right) next to the sticker.
I wrecked the decal putting it on and printed another, no problem. I didn't use any setting solution, just painted the flight deck with Future before decaling and PollyScale clear flat afterwards. The decal also needed a tiny bit of touchup with black paint before the dull coat. Here's the result, on the left. The Comet Empire twin-deck carrier at right is one I built in the '90s, shown for comparison.
Labels:
Alps printer,
anime,
AutoCAD,
Bandai,
model photos,
Star Blazers,
WIP
Sunday, March 18, 2012
More DML Modern Sea Power Series: A Pair of Kings
Labels:
1/700,
Alps printer,
AutoCAD,
Cold War,
DML,
helicopter,
Royal Navy
Saturday, March 17, 2012
DML Modern Sea Power Series
I've been needing to make space on my workbench, and not wanting to follow yet again the time honored tradition of modelers everywhere--taking half-built models off the workbench and putting them in a box on the shelf--I redoubled my efforts to finish some. I'm nearly finished with DML kit 7006 USS Benjamin Franklin vs Soviet Sierra Class.
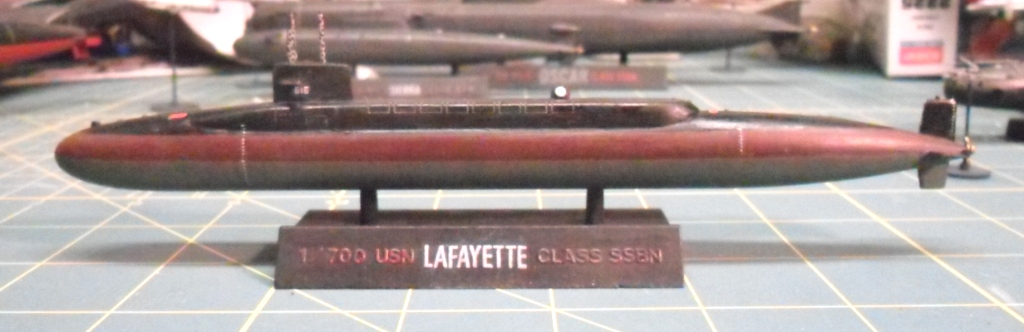
It's comparable to DML's other five 1/700 scale kits of this sort that comprise a pair of subs, one Soviet and one allied, along with a couple ASW or anti-ship aircraft. I started building the series over twenty years ago. There are pictures at my other blog here. Here you get a Lafayette-class sub, according to the nameplate on the base, but decals for Benjamin Franklin. Benjamin Franklin-class subs started out with the same external appearance as Lafayette. I chose to follow the nameplate, but wanted the boat's number on the sail (although this is removed while on patrol). Therefore, I printed out decals on my Alps printer with the numeral 616, which I drew in AutoCAD so I could control the size and shape accurately.
Labels:
1/700,
Alps printer,
AutoCAD,
Cold War,
DML,
model photos,
ship,
Soviet,
US Navy
Subscribe to:
Posts (Atom)