Tuesday, January 21, 2014

RSO Part 4

Just a short update. I finished cleanup of the new vent holes to make them neatly geometrical, so they look like they were made by Germans (or Austrians, rather) and not cavemen. Then a shot of primer, and I added metal screen. The problem is that the cab is about a scale inch thick, but softskin vehicles like the RSO are made of sheet metal. The screen in the real thing is fastened over the opening from the inside and has no problem lying flat and nearly flush with the back of the cab. I couldn't come up with any better alternative than pressing the screen in from the inside, and the results aren't as good as I'd like. To really get the right look, one would need photoetched parts for the openings. Some plastic would have to be shaved off, the PE parts put in flush with the surrounding surface, then puttied smooth so it's impossible to tell where the PE starts. The screen would be attached to the PE from the inside, and would be nearly flush with the outside since the PE is so thin.

Although these screens don't satisfy me in this case, it was good experience and would look right for some applications. I'm leaving them be since there will be a canvas top, which will make them very hard to see. The duct inside the cab has several similar screens that will be more visible, so I will have to consider how to make those.

Sunday, January 19, 2014

RSO Part 3

I noticed that while the vents on the rear of the model's cab are centered, the cooling air duct that fits in the cab is off-center. Aside from the fact the duct wouldn't line up with the vents, the vents are supposed to be off-center, as you can see in the picture. I forget where I found this picture, but apparently someone found this RSO cab somewhere in Poland.


In the next picture, you see the relocated openings superimposed over the old vents, which are just surface detail. The lower opening shouldn't be as tall as the upper, so I corrected that, too. I have since started puttying over the old vent detail and mesh will go in the openings to complete the vents.

Aside from this, I've been puttying and sanding ad infinitum, primering, and opening the vent holes in the front of the cab. I found out those two rectangular covers with rounded corners that you see in the top picture are dampers for vents. Expecting the RSO to have headlights other than just the Notek blackout light, I had thought they were headlight covers. I even found a wartime photo of an RSO with what appeared to be light shining out one of those openings, but vents they are, and for a good reason. It could get hot in the cab sitting next to the air-cooled V8 engine. Wartime photos often show just one of the vents open, usually the driver's vent.

Sunday, January 5, 2014

RSO Part 2


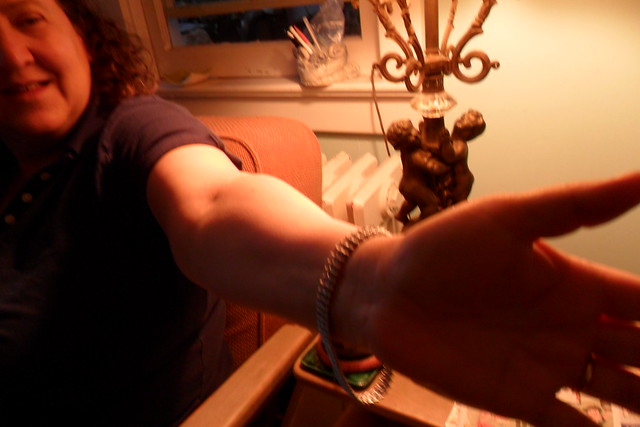
Friul should consider branching out. Check out the what a fine bracelet these RSO tracks make, modeled here by my lovely wife Ilene.


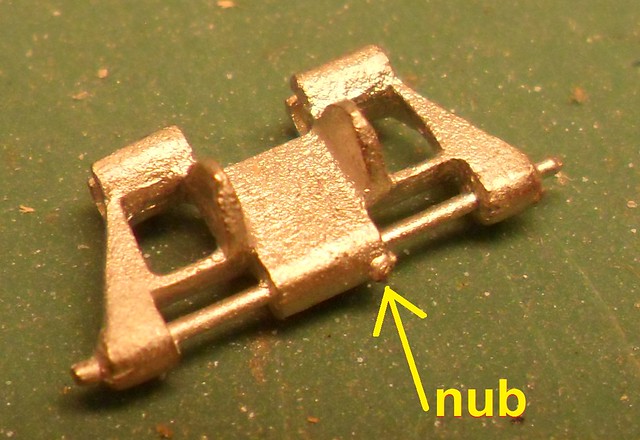
Closer inspection reveals why some of the pins broke after I assembled the first run of track. The nub you see in the photo at right is enough to wedge the adjoining link causing it to pull on the pin, shearing it off. Before assembling the second run I filed any nubs off.


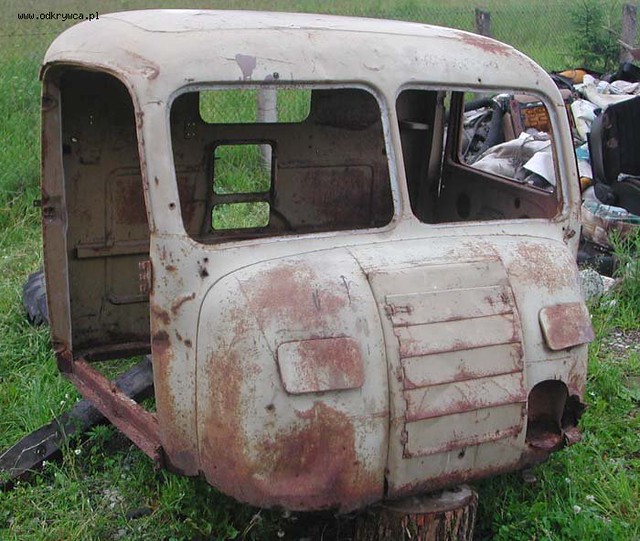
The shapes stamped into the back of the cab should also show on the inside, as in this close up from a walkaround at the Military Models website in New Zealand. I edited the picture to indicate the stamped shapes. This particular walkaround is great because the vehicle is painted white and partially disassembled, making details more visible.

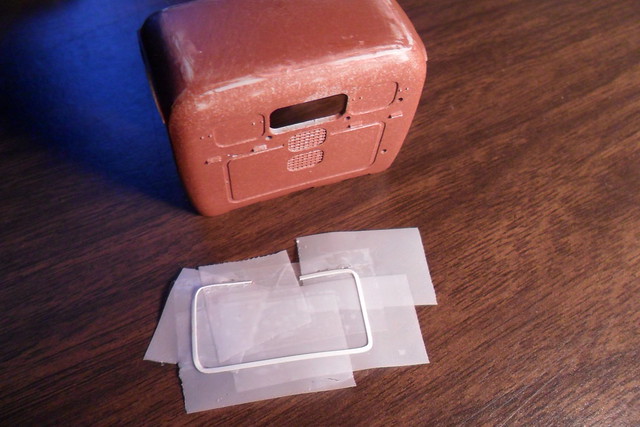
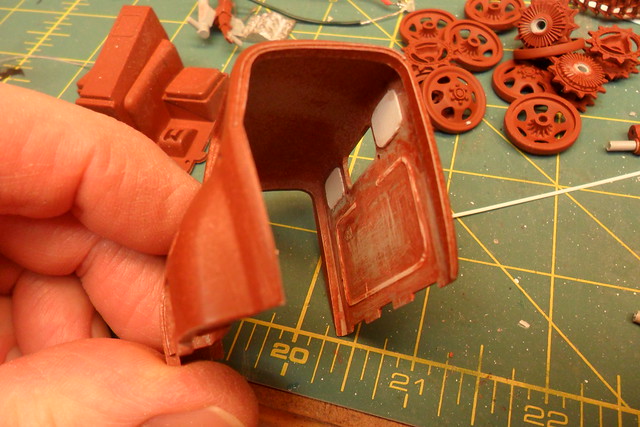
I made the matching raised areas in the back of the cab by fitting sheet styrene into the depressions. First I taped a piece of strip styrene into the depression running around the lower part. I bent the strip to get it to go around the corners.

Once I had the styrene shape formed, I simply peeled off the tape and the styrene with it.


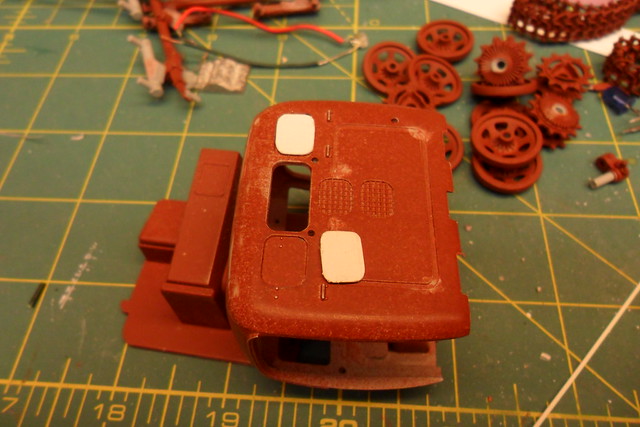
Next I put it into the cab and cemented it in place, carefully peeling off the tape.


The rectangular depressions on either side of the rear window have sheet styrene cut to fit...


...which is then transferred to the inside to form the raised areas, then cemented in place.


I found in period pictures and modern day walkarounds that the main bolt holding each roadwheel on is often secured with a strap held on by two opposing lug nuts. The RSO probably came from the factory this way. I decided my RSO should have this feature.

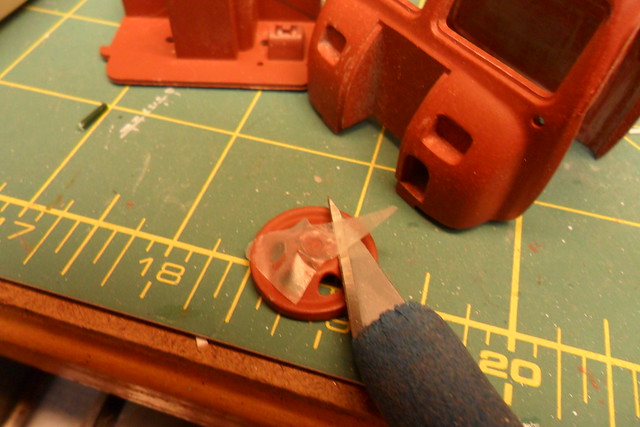
I wanted to simply put a strip of brass with two holes over the lug nuts, but this wasn't practical. My only other choice was to remove two lug nuts, superglue a strip of brass on, and reattach the lug nuts with superglue. To this end I sliced two lug nuts off each roadwheel with a fresh #11 blade (with tape over the nuts to keep them away from the carpet monster).

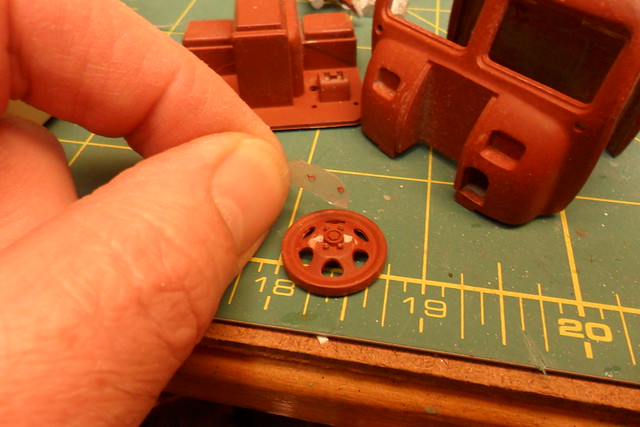
Then I pulled off the tape taking the two nuts with it. I shaved off the remaining plastic left behind so the brass strip would be tight against the wheel. Not shown is how I cut a strip of brass, pressed it over the hub of the wheel, and cut it to length. Some of the wheels got scored in the process, so a bit of putty was required to cover up the damage.

And here are all eight roadwheels modified with the brass strip and the lug nuts reattached. Comparing my work to photos of the RSO, I made the strips a little too wide, but I'm just glad the carpet monster didn't get any of the lug nuts. They are practically microscopic!