Oh, by the way, Merry Christmas! It's a long time since I posted, having gotten derailed from modeling this summer and making very little progress on aztec decals for Starcraft's 1:1400 scale
Saber-class starship. Meanwhile, I've started on an armor (well, softskin) project that should get me back on track (no pun intended) but not take terribly long to complete.

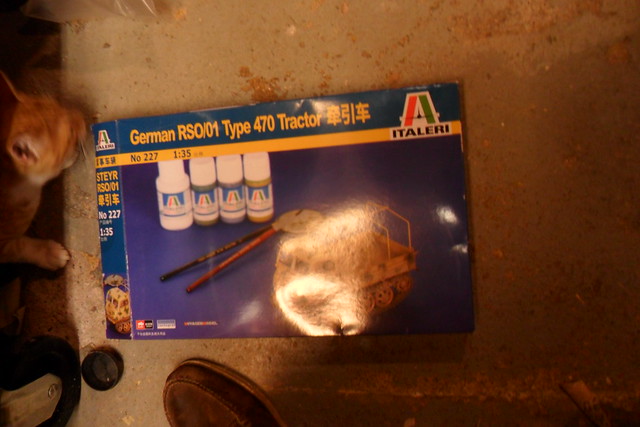
I recently got the Chinese version of Italeri's 1/35 RSO. It includes a sheet of photoetched details by Voyager and decals by Cartograph, neither of which I would expect to find in the Italian boxing. Sorry about the glare, but you know what the model looks like. The cat's name is Rory (as in Mr. Amy Pond). This kit was very inexpensive, Lucky Model's deal of the month or whatnot. A little history of this kit: Italeri (then Italaerei) bought the molds for this kit from Peerless/Max when they went out of business in the 1970s. Peerless Max is probably best known for their kits of various U.S. Army subjects in the range between the Jeep and the deuce-and-a-half (Italaerei bought a bunch of these molds, too). I never knew about their RSO since I don't remember seeing Peerless/Max kits at the 5 and dime where I bought models back then. But the Peerless/Max kits, while primitive by today's standards, are still pretty impressively detailed and engineered kits, and AFAIK pretty accurate.

A major reason I bought this kit was that I already had the Fruil tracks for it. Someone had tossed them into the table of parts for the Iron Modeler competition at Wonderfest. The stuff was free to all takers once the competition was concluded. Since I build armor also, I snatched these up.

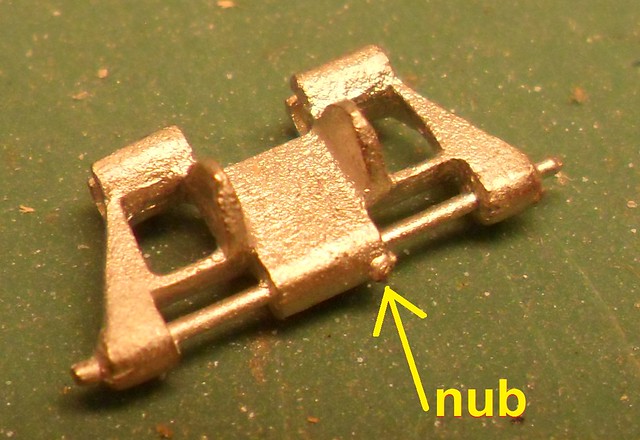
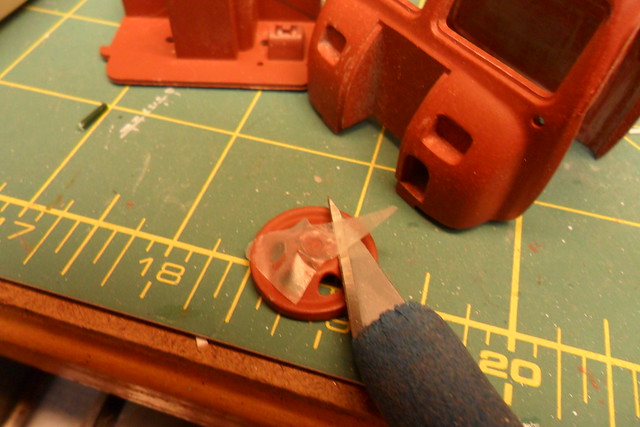
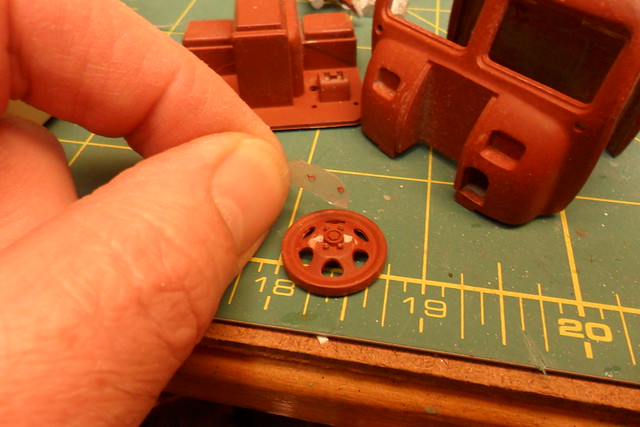
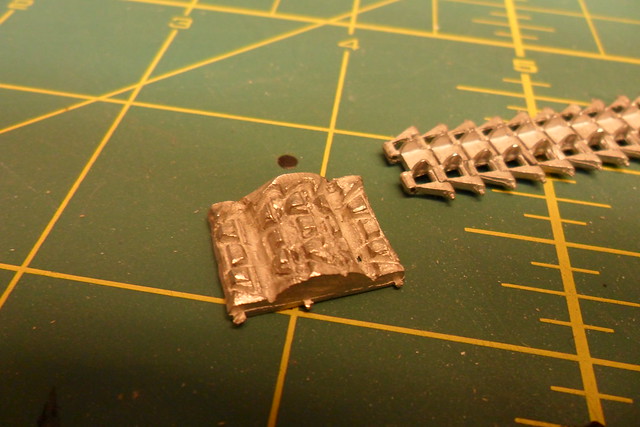
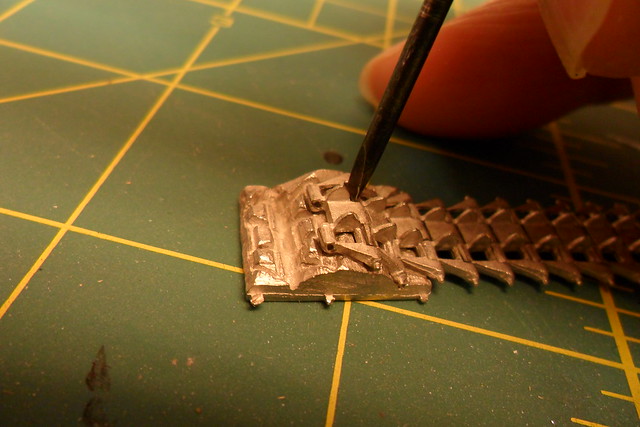
At right you see the assembly fixture, followed by a picture in which I demonstrate how to use the fixture. These tracks are not what I expected: there is no wire to form track pins. Instead, the track pins are cast as part of each link. The part of each link that is like a hinge barrel is open so it can trap the pin in the next link. You place the assembly on the fixture and press the open barrel shut (here I'm doing it with a jeweler's screwdriver), and you get workable track.
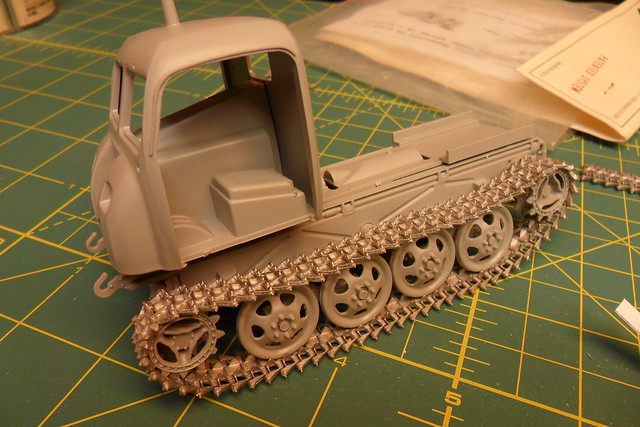
Here's one run of track test fitted on the tractor. They look pretty good here, but I had to cut out a couple links in which the pins broke, probably because I closed the links together with too much force.
PMMS has
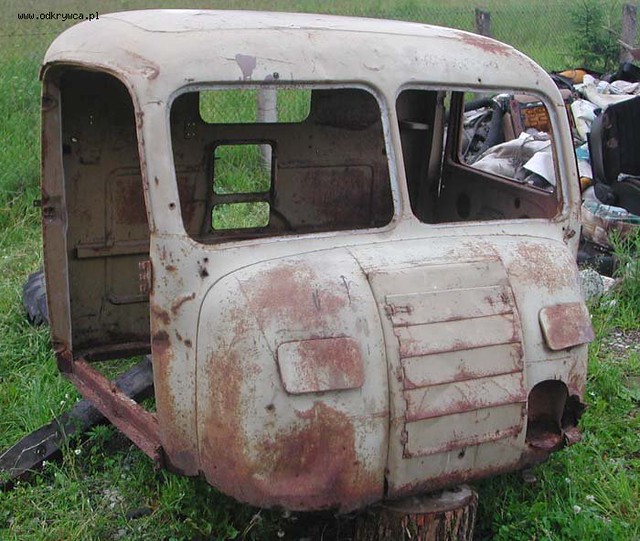
a review of Fruil's track set for the RSO, but it's for a new version, which confusingly has the same number of ATL-29. The differences are that the new links are more accurate, that they have wire for link pins and bolt head parts to make right- and left-hand tracks, and that sprockets are included. The new set apparently takes 69 links per run. I don't have the Panzer Tracts for the RSO, so I don't know how many links it should take. I looked at the best photo I could find of a real RSO and tried to count the number of links, and it seemed to be 72. The run I assembled took 67 links.
Since there are two versions of Fruil's track set ATL-29, you may get the old set when you think you're ordering the new set. However, I'm pretty happy with the old set. They are a bit wider to fit the wider kit sprockets, but the difference in width is kind of hard to see. Once I got the hang of assembling them, it was a breeze. True, the bolt heads on the link pins aren't there, but to my eye these are too large on the new track set. All in all, I don't see a lot of reason to prefer the new set over the old.

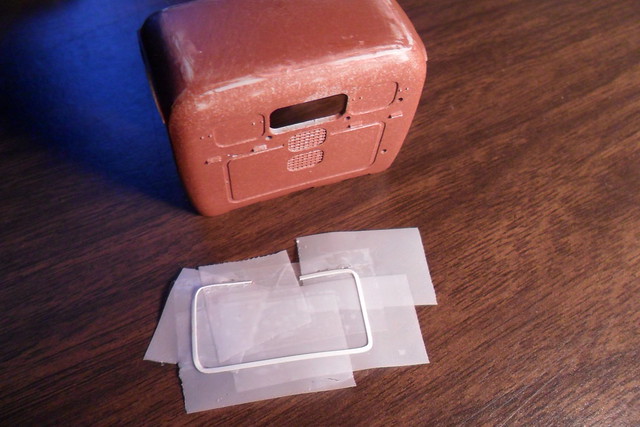
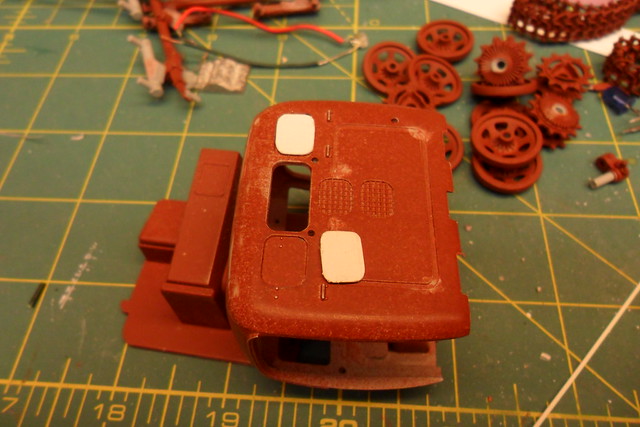
 Marking options include army, SS, and Luftwaffe, so I went with Luftwaffe, since it might come in handy in some future diorama. I left out the driver figure, since it's sort of a misshapen blob with an oversized head. As you can see, the decal on the driver's side of the tub just sort of disintegrated. To help cover up this defect, I abandoned the plan to leave the whole thing in solid Panzer Yellow (one of the Polly S paints I still have) and brushpainted some camo with Model Master enamels (Panzer Red-brown and Panzer Green). The canvas top started out Humbrol Deck Teak, but it seemed too close to Panzer Yellow, so I overpainted it with Humbrol Hemp. The top lacks a rear window, which would have been clear vinyl on the real thing, so I glued on a piece of envelope window with Micro Crystal Clear. It's like Elmer's only better, and I used it to glue on the license plates from the decal sheet. (Yes, that's what instructions tell you to do, too.) Tires are Vallejo German Grey lightened in areas with Medium Sea Grey - my go-to method of painting tires.