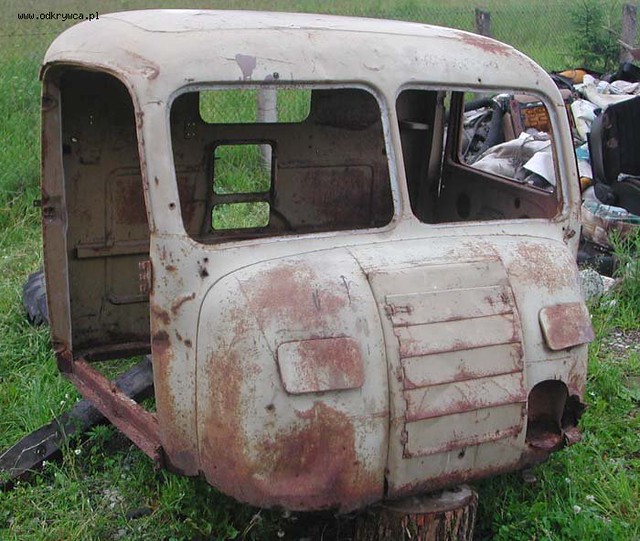
Just completed, the 1/35 Chariot by Doll & Hobby Georgia. I'd say more, but busy getting ready for Wonderfest.


 The shapes stamped into the back of the cab should also show on the inside, as in this close up from a walkaround at the Military Models website in New Zealand. I edited the picture to indicate the stamped shapes. This particular walkaround is great because the vehicle is painted white and partially disassembled, making details more visible.
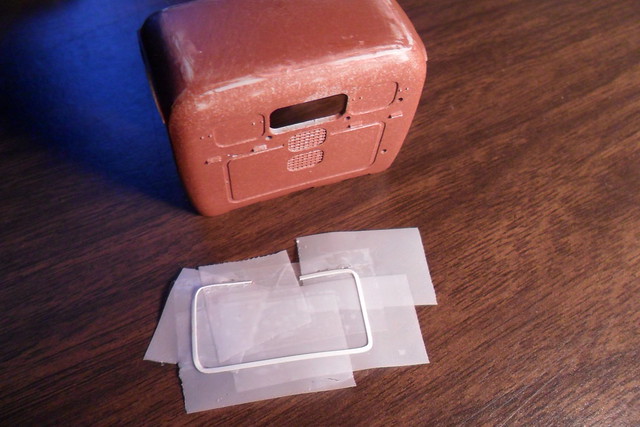
 Next I put it into the cab and cemented it in place, carefully peeling off the tape.
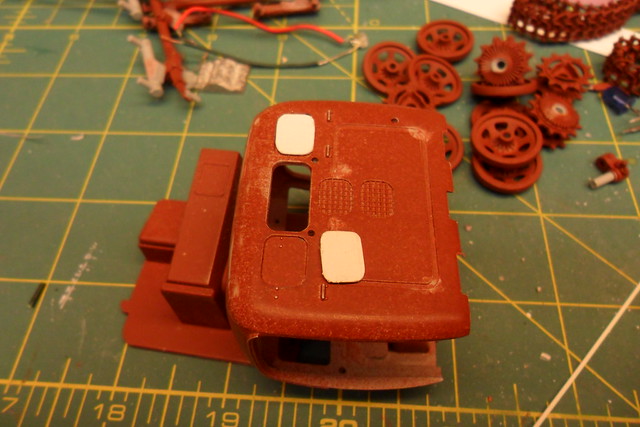 The rectangular depressions on either side of the rear window have sheet styrene cut to fit...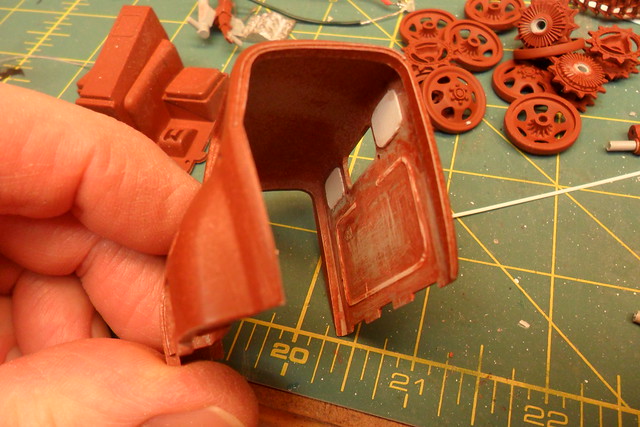
 I found in period pictures and modern day walkarounds that the main bolt holding each roadwheel on is often secured with a strap held on by two opposing lug nuts. The RSO probably came from the factory this way. I decided my RSO should have this feature.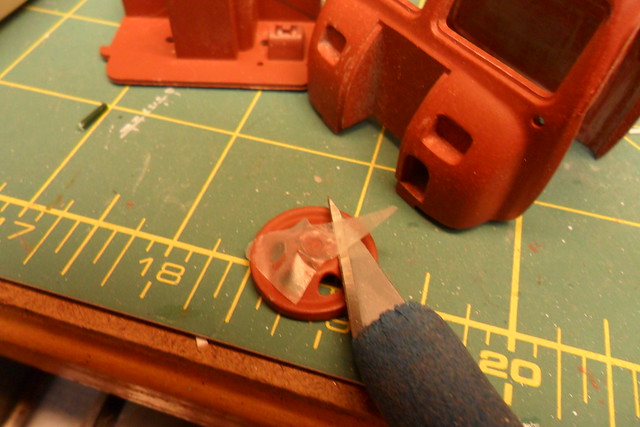
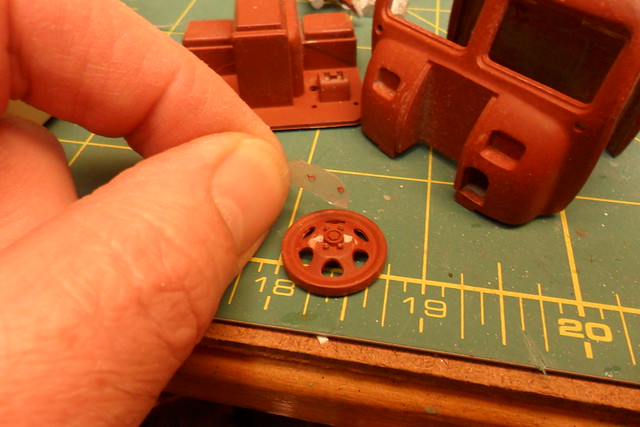
 Then I pulled off the tape taking the two nuts with it. I shaved off the remaining plastic left behind so the brass strip would be tight against the wheel. Not shown is how I cut a strip of brass, pressed it over the hub of the wheel, and cut it to length. Some of the wheels got scored in the process, so a bit of putty was required to cover up the damage.
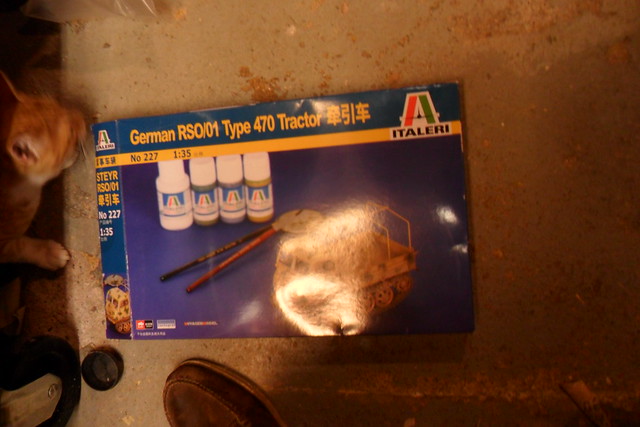 I recently got the Chinese version of Italeri's 1/35 RSO. It includes a sheet of photoetched details by Voyager and decals by Cartograph, neither of which I would expect to find in the Italian boxing. Sorry about the glare, but you know what the model looks like. The cat's name is Rory (as in Mr. Amy Pond). This kit was very inexpensive, Lucky Model's deal of the month or whatnot. A little history of this kit: Italeri (then Italaerei) bought the molds for this kit from Peerless/Max when they went out of business in the 1970s. Peerless Max is probably best known for their kits of various U.S. Army subjects in the range between the Jeep and the deuce-and-a-half (Italaerei bought a bunch of these molds, too). I never knew about their RSO since I don't remember seeing Peerless/Max kits at the 5 and dime where I bought models back then. But the Peerless/Max kits, while primitive by today's standards, are still pretty impressively detailed and engineered kits, and AFAIK pretty accurate.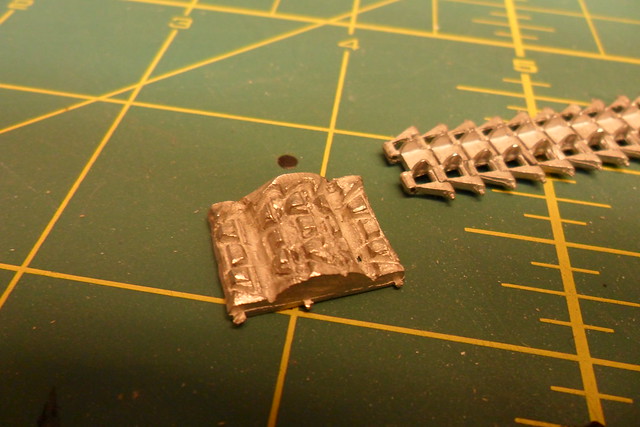
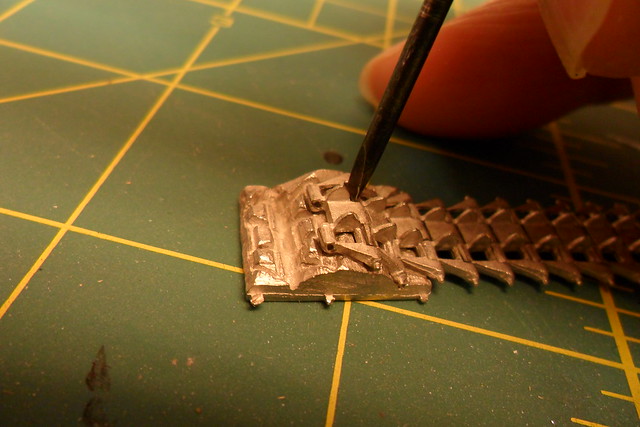
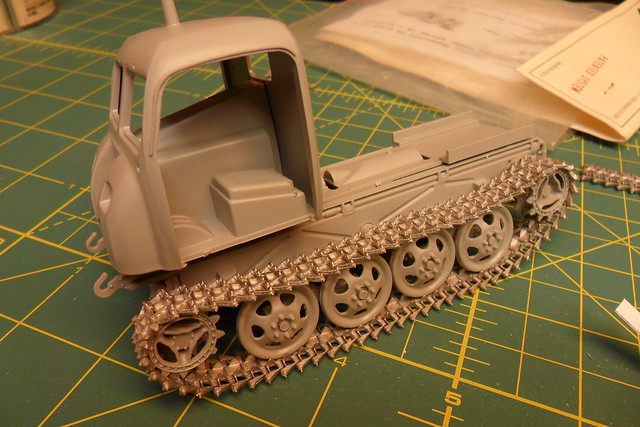

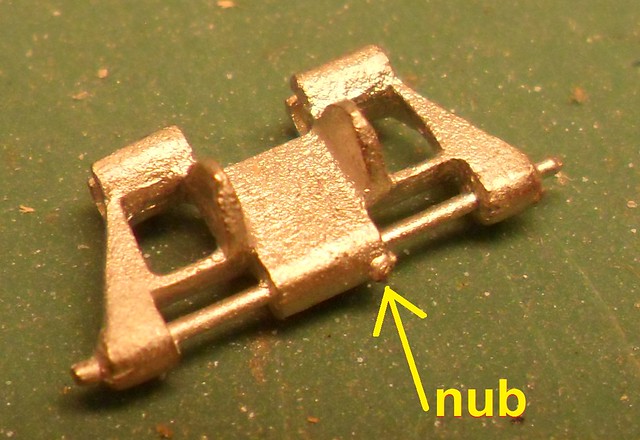
 These are some shots of my recently completed DML 1:35 Sturmgeschütz III F/8. I hadn't done an armor kit since 2006, and did it to participate in a group build called The Sturmgeschütz Brigade Build on Armorama. This is the Imperial Series kit, not the later Smart Kit, and has been sitting in my stash since the mid '90s. The Imperial Series were originally Gunze kits, I am informed. Never had a Gunze kit, so I can't confirm that. It's a better quality kit than 1970s Tamiya armor, but not up to today's standards. It does have individual link tracks, as opposed to those vinyl "rubber bands" or the intermediate option, which I really hate, "link-and-length." It also has some really nicely detailed parts (the roadwheels are especially fine), but there's a downside, too. Fortunately, most of the downside is easy to fix or hard to see.
 The intake covers are molded solid. They couldn't take in much air that way! These were easy to replace with parts I made from scratch. Newer kits include photoetch replacements for these. The trailing arms for the roadwheels are molded onto the lower hull in a funky way: they extend under the hull. Solution: don't let anyone look underneath!
 This was also my first use of the hairspray technique. (Short description: over the base coat, apply hairspray, which is water-soluble. When it's dry, paint over that with acrylic. Let this dry--not too long--then wet it and rub off loose paint.) It's a pretty handy way to show chipped paint, but it's easy to overdo it. It's also an easy way to knock off delicate parts! The whitewash is applied even to the rubber parts--I figure no crew cared to mask off the tires--but as rubber doesn't hold paint well, most of it has come off, except for the spare roadwheels on the back of the engine deck..

 The whitewash is Pollyscale flat white, applied both with brush and airbrush, and generally rubbed off with a toothbrush. In photographs, one often sees Winterketten (the extra-wide tracks) are often supplemented with some regular links. On my model, one of the winterketten links on each track has been modified to be a regular track link, as has the length of extra track mounted on the rear. I thought this would serve to explain the tracks. The painting of the tracks is pretty simple: I spray painted them Krylon camo brown, then misted with Krylon red primer. The tracks on the suspension then got drybrushed with acrylic gunmetal and washed with cheapo craft-store acrylic brown to muddy them up.