Carpenters' Hall at 320 Chestnut Street in Philadelphia is an important historic site, and among other claims to fame was the meeting place of the First Continental Congress in 1774. The first thing a modern-day visitor probably notices upon entering is a display case near the center of the hall, housing a 1/24 scale diorama showing the building under construction in 1770. The diorama was made at the Hagley Museum about 40 years ago, and as closely as possible its construction matches that of the real thing, with wooden framing held together with dowels and wooden shingles being laid on the rafters, cedar shingles, and copper flashing. Tiny clay bricks being unavailable, the masonry is made of sheets of plaster with silk-screened bricks separated by scribed mortar lines. Nice little touches include a workhorse-powered hoist, scaffolding, workmen wearing three cornered hats, a well with a hand pump, an outhouse, and even a dog chasing a cat.
 |
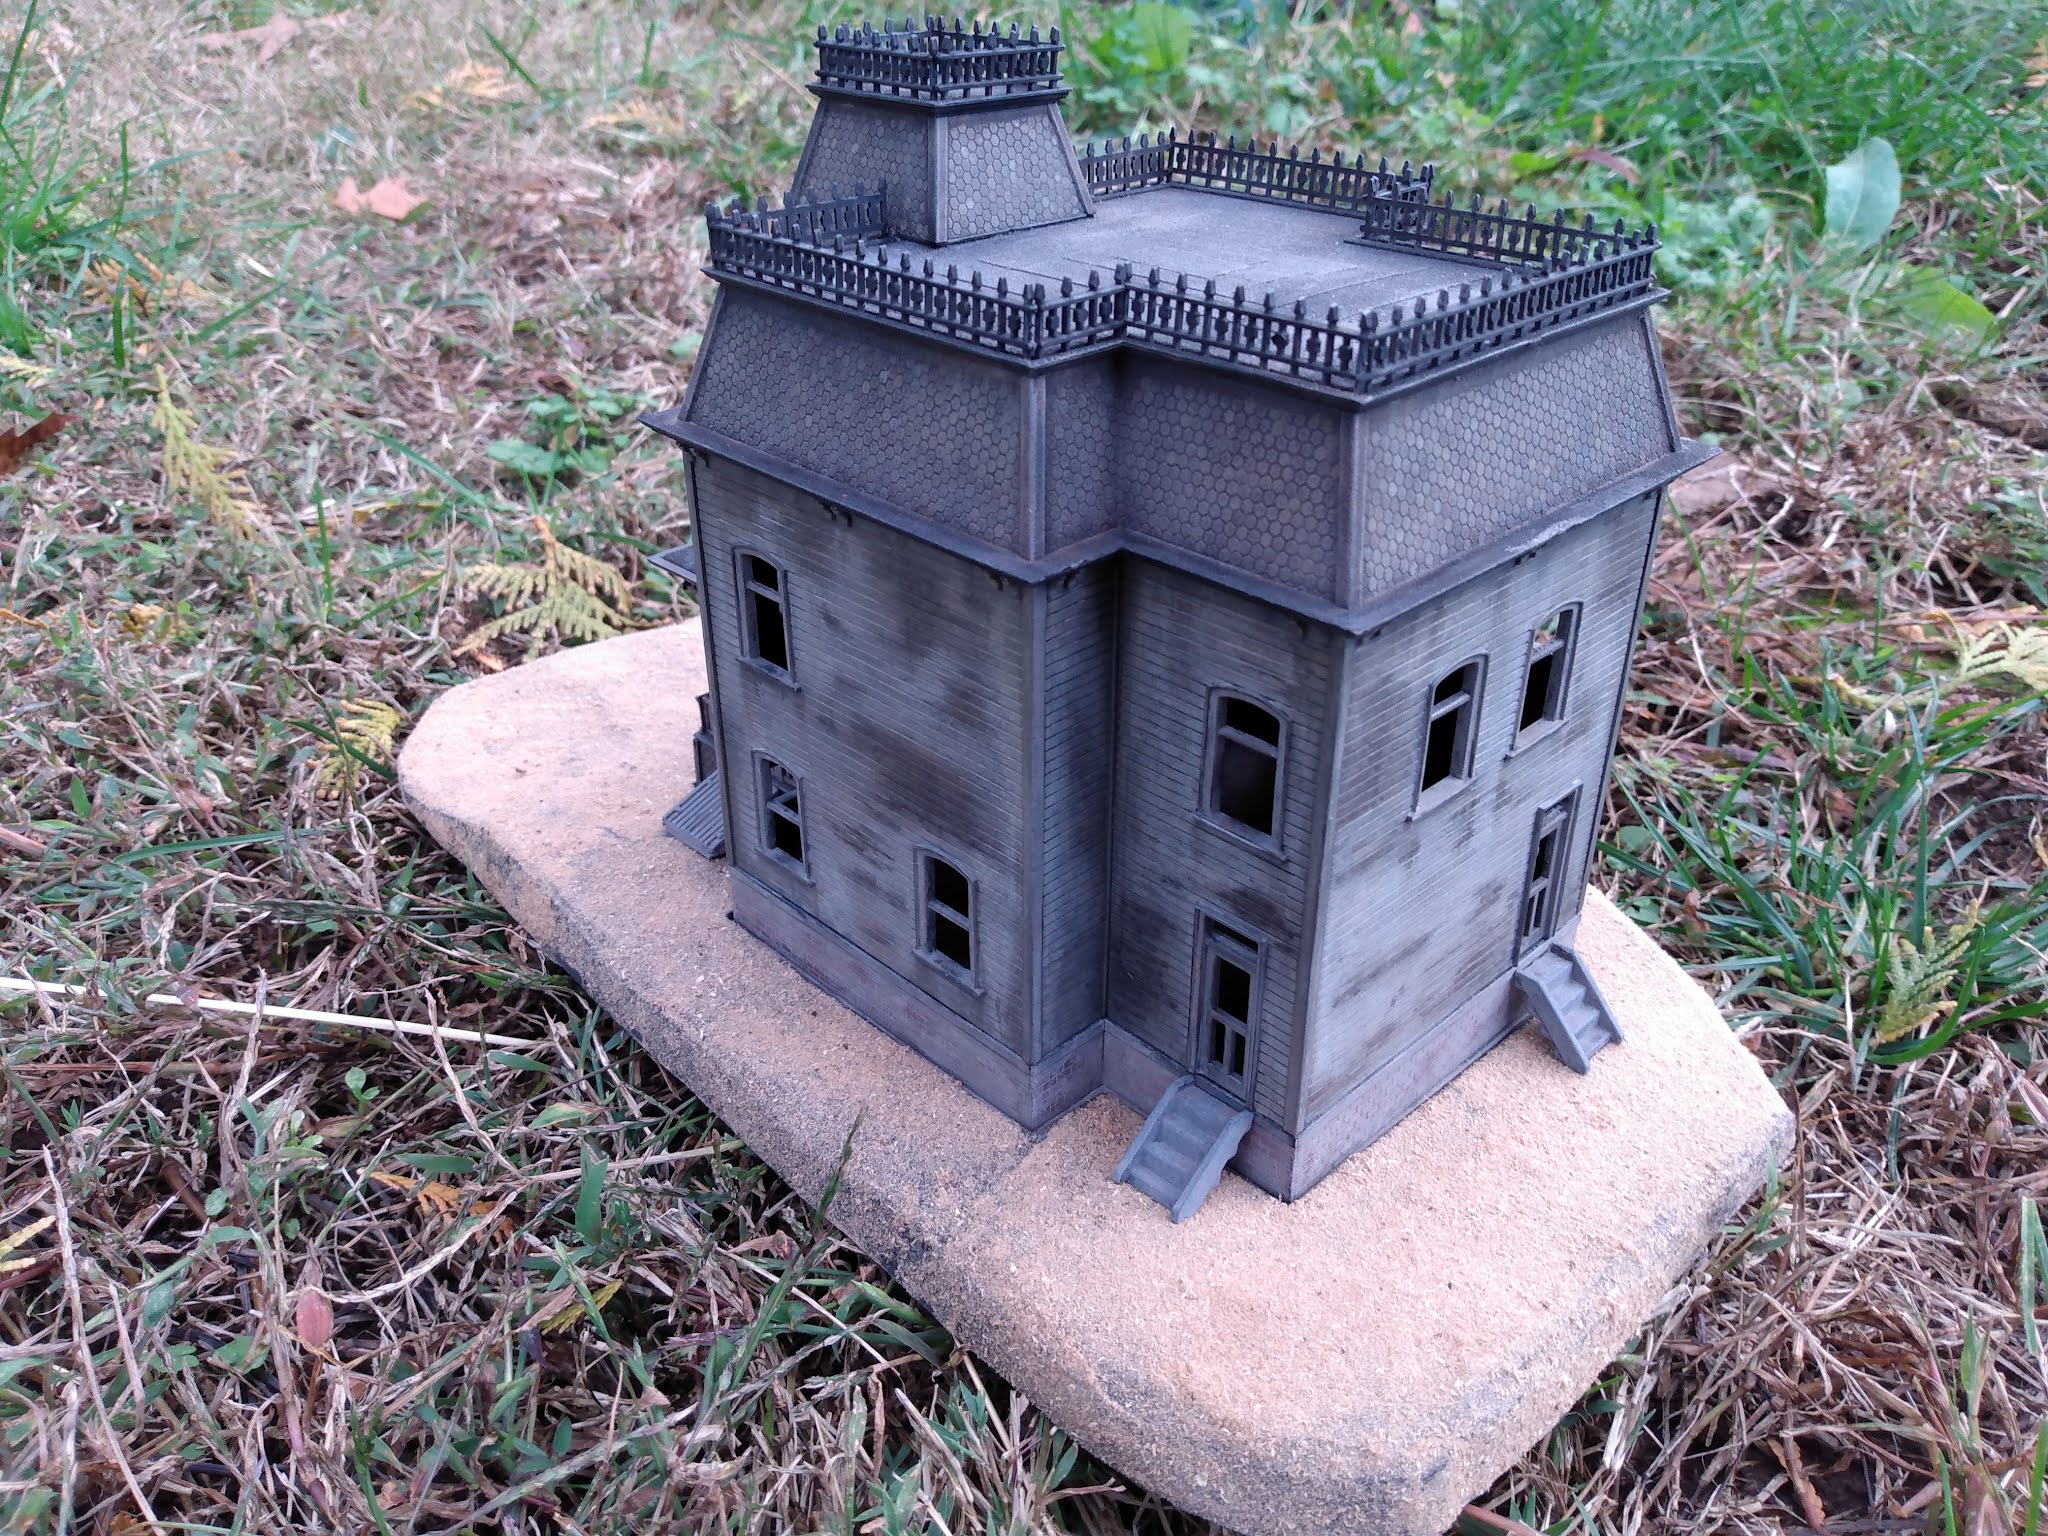
| Before I got started. South face. See the dog and the cat? |
Just this past week, I had the opportunity to work on this diorama, because the Carpenters' Company is celebrating its tricentennial in 2024 and wanted its model restored for the occasion. I jumped at the chance to do this: I'd never worked on a museum display before, so it would be a valuable experience. Also, I wasn't totally unqualified, since I had refurbished plenty of models and dioramas before.
On a previous visit in December I had examined the display case and come up with a plan to disassemble it to permit access to all four sides of the diorama. The hall is normally closed on Mondays, but in the winter it is closed on Tuesdays as well, so the task was to get as much done as possible in two days. Disassembly (and reassembly) required two two-by-fours fastened to the top and four tall people lifting the top off the case by the ends of the two-by-fours. Arrangements were made for the four tall people (including me) to come on January 8 and 9. My plan was to get there by train, walking the remaining six blocks or so, limiting how much I could carry. The week before, I made up a list of needed tools and supplies and bought whatever I didn't already have, and the night before fit it all into two carrying cases.
I took along a power drill, drill bits and screwdriver bits, some lengths of scrap wood to screw to the top of the case for the two-by-fours to be attached to, and drywall screws. For the work on the model itself, I took Q-tips (not enough!), toothpicks, pipecleaners, pipettes, paintbrushes, two airbrushes (Paasche VL and H), an assortment of Vallejo paints, mediums, and flow improver, an air compressor and regulator, AK diorama paste, lightweight spackle, and matte scenery glue and static grass from Woodland Scenics. If this list sounds exhaustive, it isn't, because there were other odds and ends that I found room for, like packing tape and twine, and other things that slip my mind now.
 |
| Wiping dust from the scaffold. |
The morning of January 8, I arrived at 7:45 and got to work readying the top for removal. Once the top was off and the plate glass removed, I got to work cleaning away the accumulated dust. The model was sealed up fairly well over the forty years, but extremely fine dust had made its way into the display case, coating the horizontal surfaces. The layer of dust was less than .001" thick, and I got much of it off with a long paintbrush, with which I could reach pretty far into the model, and a vacuum cleaner, which I used to draw the airborne dust away (as well as directly vacuuming the ground surface where it was safe to do so). However, I've noticed in cleaning models before that dust can really cling to painted surfaces, as if it's chemically bonded (maybe it is!), and some of the dust simply couldn't be removed. This was particularly the case on the window sills, so I repainted those. They were a warm white, a paint color that I matched by adding a tiny amount of yellow ochre. A chalky white paste had been smeared on various horizontal surfaces to represent spilled mortar (a trough for mixing the mortar is on the ground, next to a pile of sand for mixing with the lime). The white stuff came off easily, so I tried to clean around it.
 |
| Adding a dark wash to the joints. |
The scaffolding was represented by long twigs lashed together with string, which I took to represent long, narrow poplar trunks tied with rope. As I wiped away the dust with damp paper towels, it became evident that the scaffolding had a coat of grey paint. I couldn't tell how much of the grey was dust and how much was paint. I'm not sure why they painted it grey, except perhaps to represent weathered wood. Wiping off the dust took much of the paint off. This left streaks, and to me the resulting effect suggested poplar trunks that had been shorn of bark. so I left it that way. Some of the lashing around the joints was dark, making it more apparent how the scaffolding was constructed, so I added a wash of burnt umber to all the joints, wiping away the excess.
 |
| Greener greenery, and a wetter well. NE corner. |
The groundwork of the diorama was a fairly uniform shade of brown, including the back dirt piles. My experience digging holes leads me to expect a brown top layer and lighter, reddish or yellowish subsoil, so part of my preparation for the job was to find out what the actual soil colors would have been, in order to represent them more accurately. For this, I enlisted the aid of an archaeologist I happen to be married to, Dr. Ilene Grossman-Bailey. She searched through a geographically-linked index of archaeology reports (which a mere civilian like me can't access), and found a 2022 report on excavations at Carpenters' Hall done by Richard Roy of AECOM. She asked a friend at AECOM for a copy, and within a day I had the answers I was looking for. I found a good paint match for most of the subsoil below the pre-1770 surface was Vallejo 70.921, "English Uniform," so this is the color I airbrushed them, adding a little white to add highlights in a second pass.
 |
| The bosses confer. North face. |
Unfortunately, my airbrush started giving me trouble, so boy was I glad I'd brought a spare! I switched from my VL to my Model H for the rest of the groundwork and foliage, and fixed the VL the following weekend. The problem with the single-action H is there's no using it like a spray can like I would on a model, starting next to the model to avoid sputtering on it and sweeping across. Instead, I had to two-hand it to shoot air on the target before adjusting the paint flow. Fortunately, painting groundwork and foliage is forgiving. Speaking of foliage, the model builders at the Hagley museum had added grass in clumps. It looks like static grass, but as far as I know this product has only been around for about ten years, mainly used by model railroaders. The clumps looked a little sparse, and their color was none too healthy, so I squirted in some scenery cement and stabbed in clumps of static grass in places where the grass would be more lush, such as around the well. I brightened up the old foliage and made the old and new foliage match better by airbrushing with various shades of green, starting with a light yellow green then changing to darker tones. I also dabbed in some acrylic medium on the well platform under the spout, so it looks like the well has been used recently.
 |
| A wagonload of shingles. SW corner. |
No modeling experience is without its lessons, which is one reason I undertook this job. Working under a deadline, it's really important to relax and do it right while sticking to a schedule. I tried to make the most of the two days, but in retrospect I think I rushed some things a little, like painting the groundwork, with the result that it didn't come out quite the color I intended. A literally painful lesson, which I got while carrying my heavy stuff back to Jefferson Station in a driving rainstorm after a long, tiring day, is to make sure my stuff is easy to transport. The carrying cases were just about ripping one arm out of the socket, then the other, while my umbrella kept getting turned inside out. Either a backpack or a wheeled suitcase would have made the walk a lot easier. Another lesson is to make sure to have adequate lighting. The hall has rather poor lighting, coming from two candelabras (plus a desk lamp I was able to cadge). This was okay on Monday, since the hall also has nice large windows. However, those windows have shutters, and not just for show. They are kept closed at night and in inclement weather, and the weather that Tuesday was some of the most inclement in a long time. As a result, I had a very hard time seeing what I was doing (another reason I had trouble getting the groundwork the color I wanted).
 |
| The most excuse-our-dustiest part of the diorama. SE corner. |